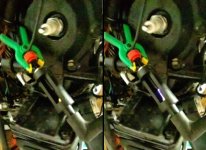
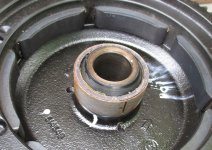
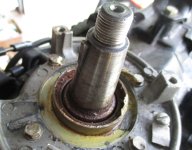
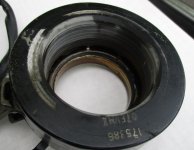
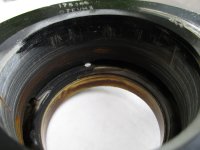
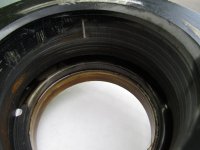
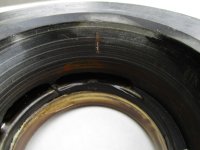
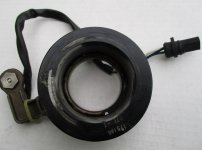
I have Johnson 1998 50hp J50PLEEA with VRO pump. When bought it seller told me about damaged lower unit.
I put engine on the stand and connected fuel, VRO tank, battery, BRP Side remote control.
Removed lower unit and attempted to start engine to confirm working condition.
First time I tried, engine would start and run for few seconds and then stop. Subsequent attempts to start were unsuccessful.
1. Checked fuse. Good.
2. Verified battery. Charged to full. Tried to start - spins but no start.
3. Removed spark plugs and measured 0.035 for both and put back. Tried to start - spins but no start.
4. Removed each spark plug, connected rubber boot wire, touched the metal with spark plug. Tried to start - visually confirmed spark on each.
5. Removed starter, disassembled. Removed metal powder from magnets, cleaned rust a bit, added grease and assembled. Tried to start - spins but no start.
6. Removed VRO pump, disassembled. Visually inspected, no rips/holes/cracks on both membranes or gunk on inside. Re-assembled and re-installed back.
7. Disconnected hose into carburetor from prime solenoid. Tried to start - visually confirmed fuel spaying on each hose.
8. Remove carburetors, disassembled. Removed all gunk and cleaned all. Installed back. Manually pump fuel - hear fuel filling up each carburetor (removed screw to confirm). Tried to start - spins but no start.
9. Removed spark plugs and engine cover (with spark plug holes). Verified no chips, scrapes or rust on the insides of both cylinders. Tried to start - visually confirmed fuel mist spraying from each cylinder. Put engine cover back and re-connected spark plugs. Tried to start - spins but no start.
10. Checked stator with multimeter. Black/yellow - ground. Orange to Orange/Black - 400ohms. Brown to Brown/Yellow - 800ohms.
11. Checked timer with multimeter. White to Green - 27ohms. White to Blue - 27ohms.
After few attempts to start engine would backfire with loud bang and fuel would drip from opening below where lower unit installed.
What can I do next? Thank you for your help.


