Logo

Clamping Ring bolts

eod

New member
I have removed my clamping ring by drilling off the head of the bolts. Three of the bolts are salt coroded into the engine/outdrive adapter, I have been applying penetrating oil to them for a few days and tried to heat them with a torch. I broke one of them off flush with the adapter and the other 2 are not moving. How do I get these bolts out?
 
The clamping rings are a dime a dozen.... sacrifice it by drilling a series of holes across it. Then break it with a chisel, and remove it.
I have these if you can't find one!

You can now remove the flywheel cover from the transom shield.

Once removed, you can apply heat to the inside cast aluminum bosses that house the thread inserts (these are NOT aluminum threads).
Once heated, try to remove the remaining portions of the bolts.

When you re-assemble, use Perfect Seal or ??? on the bolt threads to prevent future corrosion.
 
I have already destroyed the clamping ring to remove it. It actually cracked in half when I used the 3 screws I was able to remove to jack it off the other 3 screws that are impossible to remove.

I have heated the inside bosses up untill they were glowing red and then applied as much pressure as I possibly dare to the bolts to remove them. One of the bolts snapped off flush and the other 2 are still stuck there.
 
If you were to save this flywheel cover, you'd have to take it to a shop who has an EDM device.
That is about the only way you will be able to extract a broken bolt from one of these.

Which engine....., what year model?
If OHC 4, these flywheel covers are also in the "dime/dozen" category, comparitively speaking!
I have them if you need should need one. Much cheaper than EDM X's three.

The V-8 flywheel covers are another story. They almost bring their weight in Gold!
I have those also.

BTW, how did you get aluminum to glow red, yet not turn fluid on you? :D
 
Last edited:
We have a AQ131A which appears to be siezed. In fact everything seems to be siezed. Was trying to remove engine, removed five bolts from clamp and one I ground the head down and inside the clamp. But the clamp is still stuck, tried wiggling the engine side to side and up and down but the clamp won't budge. From what I'm reading your comments recommend breaking the clamping ring.

I found a running used engine an AQ130. Does it use the same clamping ring and do you have one for sale that would fit? How much?I also so on a parts site a rubber seal behind it and noticed a roubber seal on opposit side of treansom that appears to wrap like a sock around the flywheel housing.

Do you carry these parts also and what would the price be?
Thanks in advance.
~Peter
 
Peter, all of these clamping rings in the AQ series (250 on up) will interchange.

When I suggest breaking the ring....... it requires a series of holes drilled perpenticular to the circumference.
Just drill a way until it's integrity is gone. Now it should come out in pieces.
This leaves what's left of the bolts to be extracted later on.
Heat on the inside of the F/C (at the cast thread bosses) works well.
 
If trying to replace a 131 with a 130, you will be in for a couple of surprises!!!
Those engines are totally different and will not 'swap'.
 
Correct to a point. These will swap, but with some challenges.

Agreed....., the 131 is an OHC...... the 130 is a push rod engine.
To the best of my knowledge, each can use the same flywheel cover!
In answer to the question as to whether they both use the same clamping ring.... yes, they do.

Since you asked this, it may be safe to assume that the 130 comes with the 130 flywheel cover.
However, the drive coupler spline count is not same..... the B/W coupler can be used on the 130, as to fit the 131 PDS.

The exhaust down-tube is different, but in this series, all in-line V/P engines are Stbd side exhaust. The transom shield will accommodate this.

Each also requires the same over-all drive ratio, which means that either can be installed ahead of this out drive.

I would question why you would want to replace an OHC engine with a push rod engine.
Seems like a step backwards to me.

.
 
Haffiman37, that last post was typed out rather quickly...... I did not intend it to seem arrogant or gruff! Sorry if it did. I just wanted to explain that many of the AQ series engine/drive parts can be made to interchange. It's one of the beauties of the AQ stuff.


Peter,
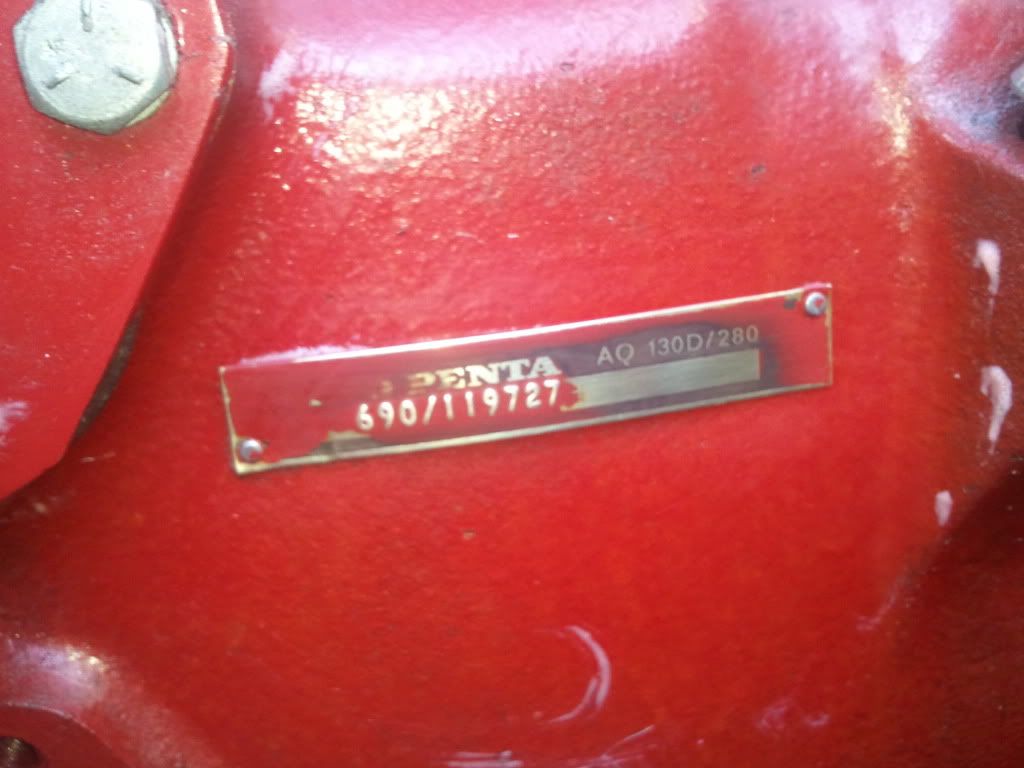
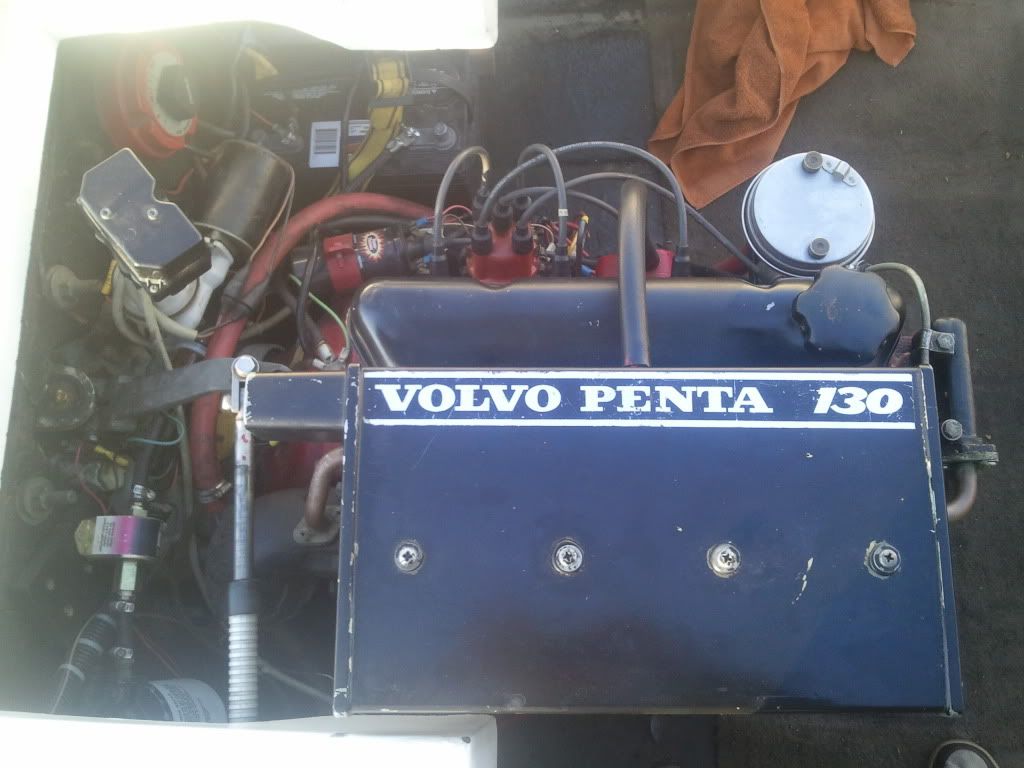
Here is one of the older AQ 130 push rod engines in front of the 280 style drive/transom shield.

WP_000162.jpg


Note the diameter of the collar steering fork shaft..... this is a 280 shield.
WP_000167.jpg


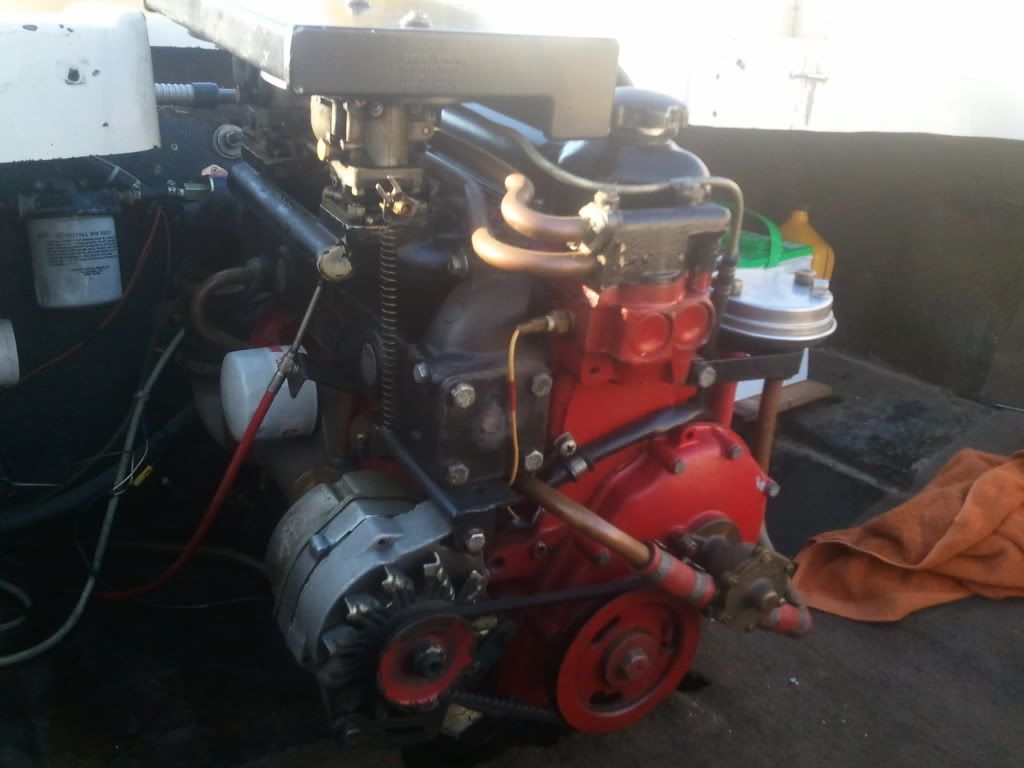
Note that it is also Cantilever Hung.
Note the small diameter exhaust down-tube.


WP_000163.jpg


Fact still remains for me, this engine would not be my first choice! It can be made to work, however.

.
 
Last edited:
Ricardo:
You may even run BMW engines (4/6 in-line) on VP drives., and housings are not that big e problem.
However that too is a 'swap' that comes with some head-ache.
I'm afraid he may be swapping an old rotten one with an even older and perhaps more rotten apple.
If the engine is seized up, but head is usable, at least the cam, perhaps better to source another Volvo 2.1/2.3 from an auto wreck and rebuild.
 
I'm all for installing a more "year correct" engine in this boat. No question about it!
However, installing the 130 does not require any permanent changes or modifications to anything on his transom shield.
The OEM 130 exhaust "down-tube" will bolt on to the shield.

I suppose that the BMW engine could also be adapted with little to no mods, since all AQ series transom shields will accommodate the use of the Borg Warner (-slash-) Volvo Penta PDS adapter housing.

.
 
Im in a similar situation and the clamping ring bolts snapped and the holes where you could could put three bolts to jack the ring off also have old snapped off bolts in them. I’m going to try the trick mentioned in this thread of drilling lots of holes in the clamp seal until I can break it off, but I’m unclear how crazy to go with the drill? Too deep and I will start to get into the bell housing and then need to replace that too? Too close to the pds shaft and I assume it will compromise it as well? I chipped a few little bits off so far…but I’m wondering if there is a less crude way to do this? Or if I should just be prepared to replace both the clamping seal as well as the bell housing?
fyi it’s a VP 280 and a gm5.7
 
Im in a similar situation and the clamping ring bolts snapped and the holes where you could could put three bolts to jack the ring off also have old snapped off bolts in them. I’m going to try the trick mentioned in this thread of drilling lots of holes in the clamp seal until I can break it off, but I’m unclear how crazy to go with the drill? Too deep and I will start to get into the bell housing and then need to replace that too? Too close to the pds shaft and I assume it will compromise it as well? I chipped a few little bits off so far…but I’m wondering if there is a less crude way to do this? Or if I should just be prepared to replace both the clamping seal as well as the bell housing? fyi it’s a VP 280 and a gm5.7
Theres not really a better way to get it off if the bolts are snapping off. Drilling holes and then using a chisel punch to split the ring is the best option. You might need to drill the heads of the bolts off a bit deeper into the ring to get it to free up once you split it. You want to leave some studs to grab on to once you have the ring off. Use replacement grade 5 galvanized bolts, they are harder to come by but are absolutely necessary. I believe the threads on the bell housing have stainless inserts so do NOT use stainless bolts to reassemble. Absolutely replace the sealing doughnut rings once you get everything apart. I think there are two of em if you are removing the engine. I left the bellhousing in the boat on mine and removed the engine to replace PDS bearings.
 
Drilled the heck out of it (and even drilled too deep in a few spots and messed up the mating surface of the bellhousing behind it..so that was a dumb lesson learned) but still couldn’t get it off. Ended up tapping 3 of the original holes and putting a piece of 3/8 threaded rod in each one. Tied the opposite ends of the rods together with a 2x8 and with a bottle jack on the pds (I put a piece of wood for padding) I was finally able to pop it off by jacking against the 2x8. Was a total beast
 
Back
Top