Logo

Installing a Transom Cap

boatdokker

Regular Contributor
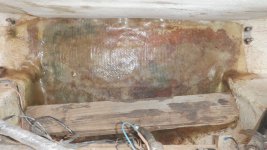
The 1985 Bayliner Capri I bought a while ago had some damage to the transom. The transom was stripped, drilled and treated with penetrating
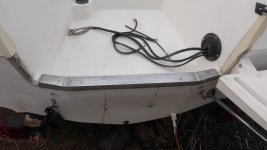
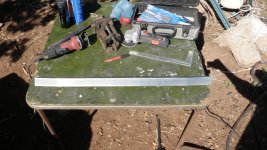
epoxy and a few layers of fiberglass mat. The boat did not have a transom cap when I bought it, so a cap had to be fabricated from aluminum industrial trim.

What steps should be observed when installing the new transom cap? I plan on using a waterproof silicone sealant and stainless steel wood screws.
Is anything else going to be needed?
P1010172.JPGP1010170.JPGP1010160.JPG
 
First thing I would do is inspect stringer system under the floor.----If transom is bad then likely there is more rotten wood.
 
There was a brace between the two middle stringers that was rotted...that brace was replaced with new wood and fiberglass mat. The rest of the stringers looked o.k.

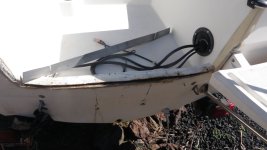
I'm planning on dry-installing the transom cap, drilling and installing stainless wood screws and then using silicone sealant to install the transom cap.
 
i would use a brand name polyurethane sealant instead of the silicone and bead the screws in it as well...
 
After a "dry" installation, and after countersinking all the s.st. wood screws, the aluminum cap was installed with...heavy duty (extreme) construction adhesive. The installation looks pretty good, adequate, at least. It cost me only $3.48 for the sealer at the local lumber outlet. I still gotta find something for the cap edges...like big, bulky, rubber corner trim. The vertical side trim is damaged, and I got some stainless sheet metal that I will use to fabricate the engine compartment side trim. Transom is still going to need some gel coat. The dings in the transom were filled with "formula 27" filler putty. Going to try to dilute the gel coat and spray the upper transom area.P1010173.JPG
 
Back
Top