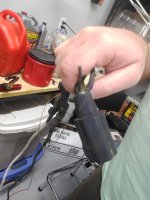
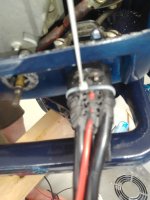
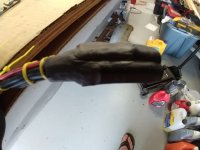
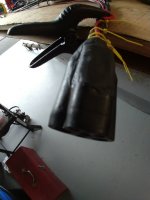
I'm about ready to crank up my 1972 Evinrude after replacing the plugs, rebuilding the carb and fuel pump and putting in new lower seals and realized after pulling the cord a few times that it might be easier to use the starter. The problem is I'm missing a power/battery cable for this thing. Model: 25252R. The plug is Evinrude Part# 385231
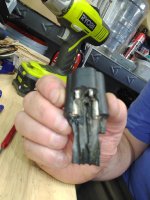
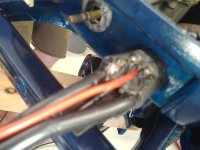
I've got the original plug, but about 25 years ago, the wires started to fray and were cut short and new wire was spliced. After sitting since 1997, the cables have deteriorated and dry rotted to the point where the insulation is pretty much gone on all cables. The cable, Evinrude Part 385231, is no longer available and even on the used market is scarce and expensive.
Does someone have knowledge of where I can find a pin diagram of this plug with proper wire color codes? I'm going to try to rebuild the old molded plug by dissecting it, but don't have many cables or insulation to work with. It may change as I cut into the rubber and dig out the wires. I'm also curious what folks think the OEM wire gauges may be. (I just so I don't oversize something and have trouble making it fit back in the plug when I remold it)
The plug appears to have 2 big female connectors for positive and negative on the battery, but then 4 more female connectors for another 5 wires. The plug has only 6 pins for 7 wires, I think it's the armature plate wires that maybe share a pin to the key switch?


