Logo

OMC to BIII conversion mega thread

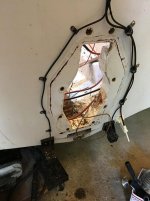
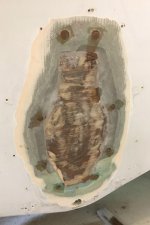
I determined that I need to raise the transom cut out a whopping 3 inches! O gawd.

Ouch,....... I keep salvaged fiberglass transom keyholes from scrapped hulls to help locate where the keyhole should be,......

Great score on the drillin' rig,.....

I use a hand held jig that keeps the holes 90* to the transom,.....

Usin' the salvaged fiberglass keyhole, 'n the jig gets the holes very close, so maybe a tiny bit of "Tuning" is all that's needed,......
 
Yeh I have the section oof hull that this came from. For a hot second there, I thought about using it...y'know, cutting it just so that it fits into my carefully prepared hole (yeh right) but no that's more work than just filling in and starting over.
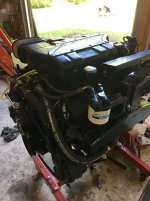
On the bright side the engine is almost completely back together and maybe in one more weekend it'll be ready.

Ayuh,..... This is what I did with my Old Town Atlantis,.......

I took abunch of pictures of the rover this weekend, once I get google photos to work, I'll get 'em to ya,......
 
IMG_4016.jpgIMG_4015.jpgIMG_4031.jpgIMG_4023.jpgIMG_4025.jpgIMG_4026.jpg


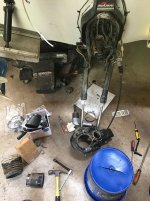
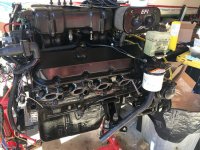
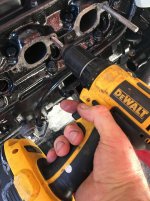
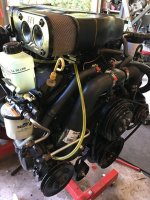
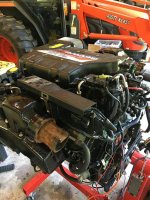
Does the painting ever end? OK Pretty much back together. I chased threads on all the fastener holes and got the manifolds bolted up. Also ran all the plumbing. Some hoses I had to make from stock I had on hand so not everything is OEM, but at least it's pretty!
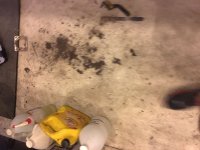
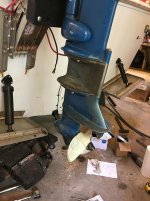
Also had time to put the extension kit on the 'Rude. Random shot of my barn floor cz I took pic by mistake. I didn't show my de rusting process I used on the Manifolds. I made a strong solution of Phosphoric acid (Gallons from Amazon) and water and simply submerged the lumps for about 24 hours. They came out super clean. Note to self: get some long rubber gloves. Phosphoric acid finds every minute area of broken skin and it burns!
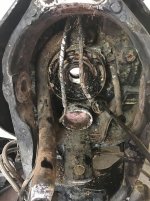
My gimbal housing is worse than I thought. I'm gonna have to rebuild it. Ordered parts today.
 
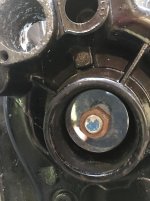
Back on this project after some travel. Got the gimbal housing disassembled. The upper pin was a honest pain in the butt to get out due to corrosion. Ditto lower pin. I am not sure if the gimbal housing itself is savable. There is a lot of galvanic pitting and corrosion around the upper pin hole where the seal and bushing are supposed to fit. I bought all new parts to reassemble the gimbal housing but not sure if the corrosion warrants replacing the casting or not. There's also galvanic corrosion on the ring where the upper pin is clamped in place.
I soaked everything in a phosphoric acid bath for overnight and got all the oxidation off, so it's back down to bare metal but the corroded areas are not so great.
I'm gonna call around to see if I can find a good used gimbal. If I can find one for reasonable money I think I'll replace it.
I should say this drive was on a boat that sat in the water a lot. It was covered with marine growth and barnacles. The soaking in phosphoric acid took care of most of that (a little scrubbing took care of the rest of it) and revealed the corrosion.
 
Last edited:
One other thing that is bothering me. I ordered the replacement-size belt for the seawater pump. Go to install it and it's too small. Everywhere I look the belt is referred to as a 40 inch belt, so I ordered a 40 inch belt from McMaster. Goes over the crank pulley (middle small diameter one) and the seawater pump pulley, but the adjuster wheel doesn't fit. I am going to order a 41 and a 42 and see where we are.
 
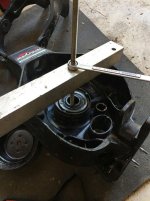
Wow finally got a chance to get the gimbal bearing out. I used a cobbled-up puller made from a 36mm socket, some 1/2 inch threaded rod, a big 2x2 hunk of aluminum stock that my dad dragged home 30 years ago, and two nuts.

IMG_4148.jpg IMG_4149.jpg

Worked great! Yeh it destroyed the seal in the process but I put in new so no harm. Used same gear to pull new bearings into place. Next up is to complete the assembling of the gimbal.
 
Ayuh,...... I wish I could remember the height I put my crankshaft center line,.......

I do remember I put it 1/2" higher than suggested in the merc installation manual,.....
 
Back
Top