Hi folk,
in hope that members can assist with replacement of seals and bearings in my 1976 25 HP manual start Johnson (RL2576).
For its age, the motor has done very little work - perhaps less than 2 hours/year overall.
It has always been flushed in a freshwater tank on return from a trip and overall is in brilliant condition.
However, last time I drained the gearcase oil, I found a few drops of water in it (yes, this old chestnut once again).
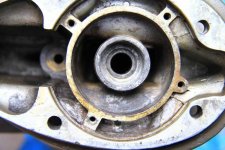
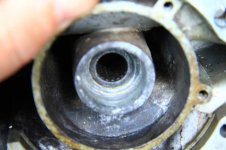
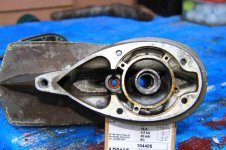
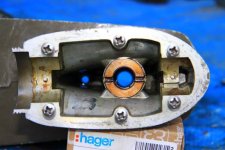
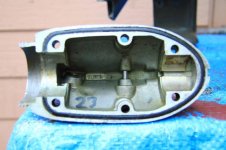
I removed the lower leg and extension and have purchased a replacement water pump kit - it came with a single lip drive shaft seal.
The orginal was a mongrel to get out - but I persevered and managed to get it out over a period of about an hour - without damaging the alloy housing.
Below this, is a needle bearing - which is clearly spent... it is rusted (sign of water leaking past drive shaft seal) and the needles are at a slight angle from vertical. I suspect that this bearing is to support the driveshaft against the load of the water pump impellor?
I have ordered in a pair of double lip seals which can be fitted into the housing on the driveshaft. There is very slight pitting on the driveshaft where the original seal ran... but there is wear on this shaft where it runs against the spent needle bearing.... I cannot get a replacement driveshaft (nor do I want to). I have rubbed out most of this pitting using wet and dry.. but there is a small amount embedded in the metal.... I do not mind replacing the gearcase oil after each trip (considering the motor is used perhaps once/fortnight in an "out and back" fishing trip).
I do not believe such a small amount of water in the volume of the oil will do immediate damage - but, if I can remedy the leak using pressure and vacuum testing - I will achieve my aim.
The propellor shaft bearing retainer seal is also suspect... I can get likewise replacement double lip seals to replace this.
The propellor shaft is also slightly pitted.. again, I have rubbed most of this out - it will wear the seal eventually - and I can easily get replacement seals...... removing and re-fitting them is my issue.
I have a replacement shifting shaft seal.
My questions are :-
1/ How do you remove the needle bearing and re-fit a replacement?
2/ How do you remove the prop shaft seal in the casing and re-fit a replacement?
3/ How do you remove the shift rod seal assembly (brass with fitted O ring) and re-fit the replacement.
I am also looking for a "spaghetti" seal - I do not seem to be able to find a listing for them here in Australia.
As stated, this engine is in amazing condition.... save for this eventual hardening and wearing of the lower leg seals.
very much appreciated for any information and suggestion.
Ross W Burgess
Melbourne, Australia


